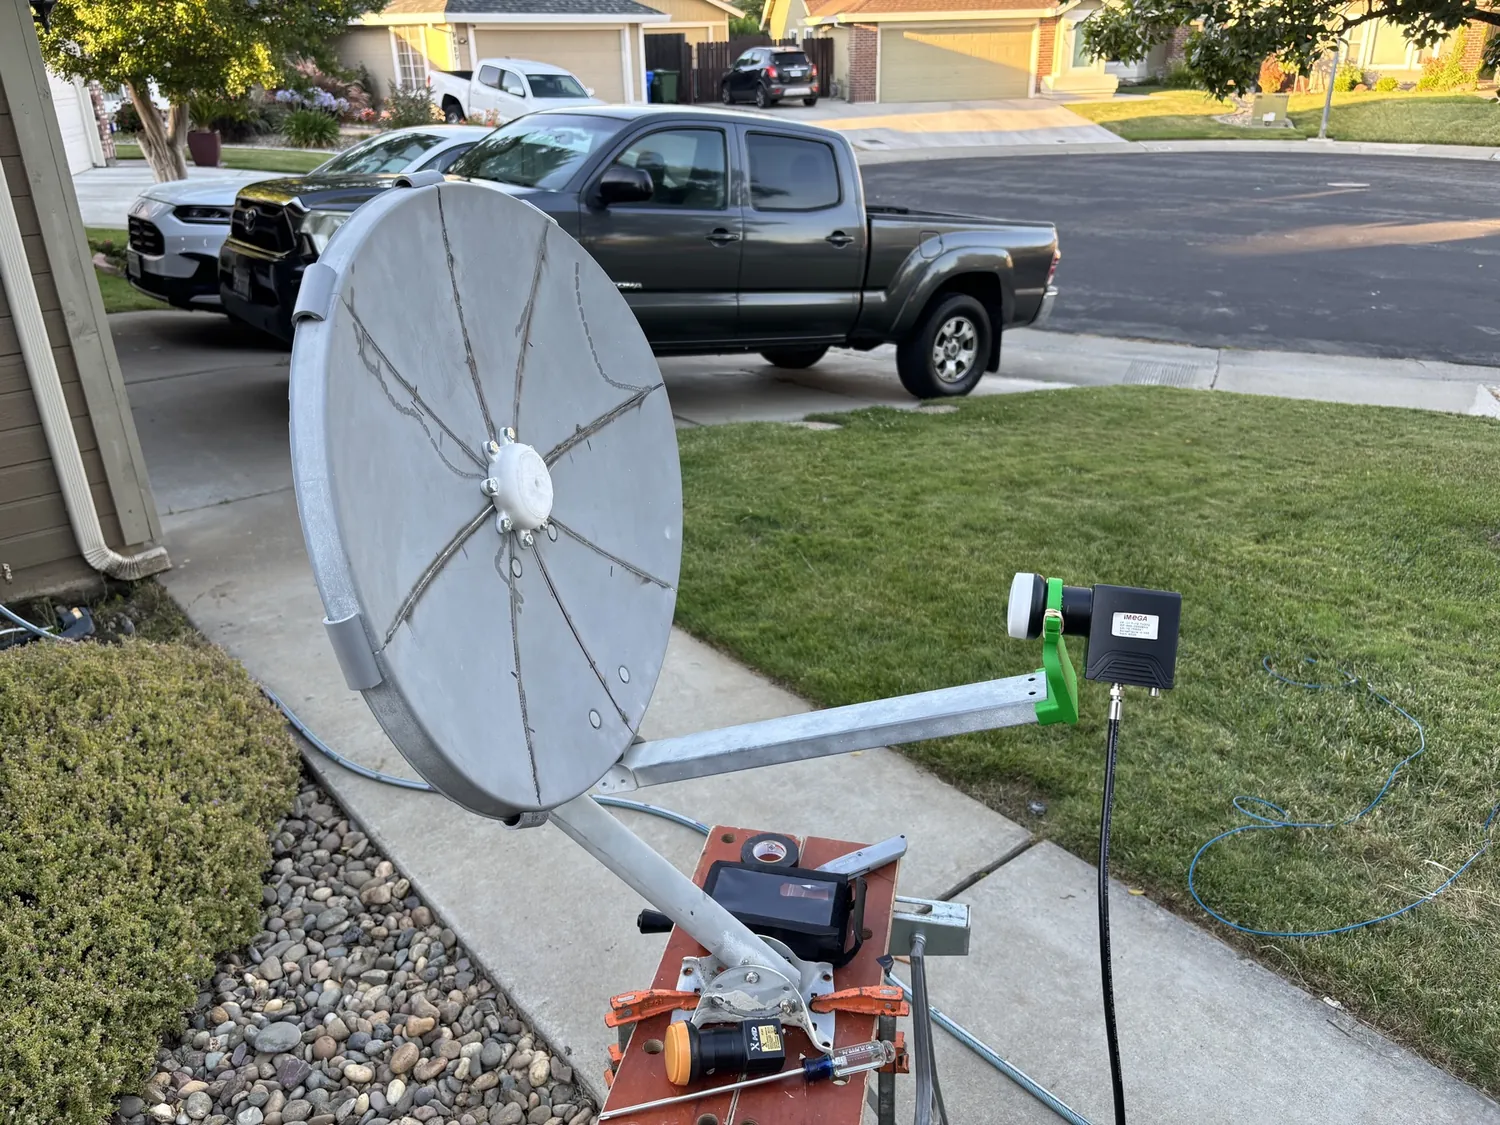
This satellite path is not a remote-control system for VillageServer. It is a receive-and-replay broadcast path: a repurposed dish, a generic LNB, a receiver or recorder, and a local screen, wall, speaker, or projector.
What the satellite part really does
First, an unused satellite dish is repurposed. The team retrofits it with a generic LNB, aims it at a satellite that covers the region, and receives Christian radio or video content that is already being broadcast Free-to-Air.
The stream can be played live through a TV, projector, speaker, wall, or screen in a home, church, school, or community center. With an HTML recorder or similar recorder, a pastor or local leader can save programs and replay them later as often as needed.
What it is not
- Not a Raspberry Pi update link — it does not currently update the VillageServer live unless a recorded stream is later copied to microSD and loaded into the library.
- Not remote team coordination — unless custom uplink work is added through a teleport organization, this is not how the field team sends messages back.
- Not the emergency-comms plan — amateur radio may become a future path, but it is separate from this satellite receive model.
- Not required for the core kit — the offline VillageServer library should still work without the dish.
How a field setup works
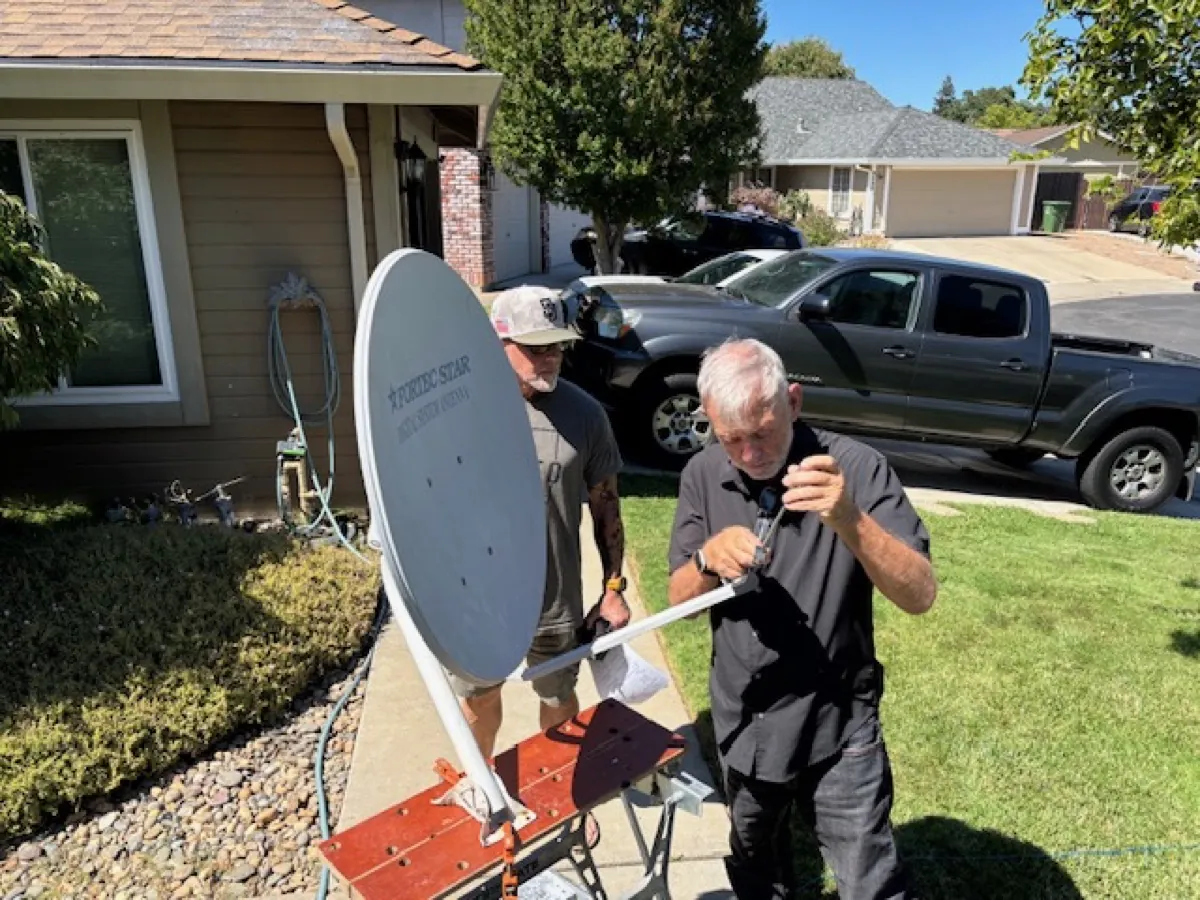
- Repurpose an unused dish
Find a dish that's already mounted and aimed at something — most owners are happy to let it stay up and simply not be used, rather than having it taken down.
- Swap in a generic LNB
Remove the dish's existing proprietary LNB (the part at the dish's focal point that downconverts the ~12GHz satellite signal to the ~1GHz frequency a receiver can use) and replace it with a generic, universal LNB.
- Connect a satellite finder
Run a coax cable from the new LNB to a satellite finder/meter. This gives a live signal reading while the dish is being moved, so you know when you're on target.
- Look up the satellite on LyngSat.com
LyngSat.com lists the satellites broadcasting over a given region and the technical details for each Free-to-Air Christian station: the transponder's frequency, polarization, and symbol rate.
- Get the aiming numbers from a Satfinder app
A satellite-finder app (such as Satfinder) converts your location and the chosen satellite into the skew angle, azimuth, and elevation needed to physically point the dish. Both the LyngSat numbers and the Satfinder numbers are needed before the dish can be aimed.
- Aim the dish and confirm lock
Adjust azimuth, elevation, and skew while watching the satellite finder for a signal lock on the correct transponder.
- Play the content locally
Send the radio or video to a speaker, TV, projector, wall, or screen where the group can listen or watch together.
- Record useful programs
With an HTML recorder or similar recorder, save broadcasts so the local leader can replay them later without waiting for the live signal.
- Bridge to VillageServer only if needed
If a saved program should live in the local library, copy the recorded file to microSD and load it through the Raspberry Pi VillageServer.
As an example of what this looks like in practice: at his home, Eric points a dish at Galaxy 19, tuned to a transponder at 12.053GHz, vertically polarized. The exact satellite, frequency, and polarization will be different for every region — always confirm the current numbers on LyngSat.com rather than reusing this example.
Think of satellite as a regional content receiver, not the heart of the system. It is completely separate from the Raspberry Pi VillageServer — the dish, LNB, finder, and recorder are their own self-contained setup, and the VillageServer library remains local, offline-first, and useful without a live signal.
Questions about a specific satellite setup, LNB swap, or aiming problem in the field? Email villageserverinitiative@gmail.com and the team can help troubleshoot.
Satellite aiming calculator Elevation · Azimuth · LNB skew · IF frequency · beam map
Enter your location and pick a satellite to get exact aiming angles for your dish, the IF frequency to tune your receiver to, and a signal quality estimate based on how high the satellite sits in your sky.
Download the corrected Satellite Systems overview as a printable PDF for kit planning and field briefings.
Download Satellite Systems PDF